
Exporting Account details to Merge Fields in Microsoft Word
Creating a new Word template
First you will need to create a blank document with the embedded XML linking to the Record types
(User availability to this function might be permission base)
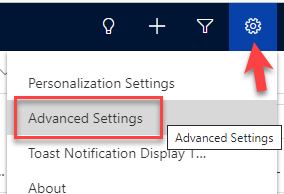
- Click the Settings Cog and the ‘Advance Settings’
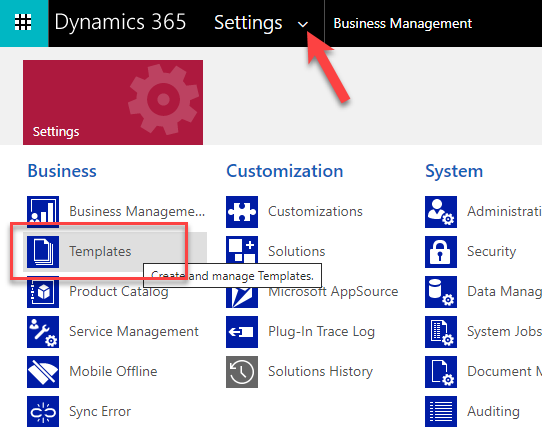
- Within the ‘Advance Settings’ page, change the view to the ‘Templates’ option. Click the down arrow at the top to expand the menu options. Select ‘Templates’
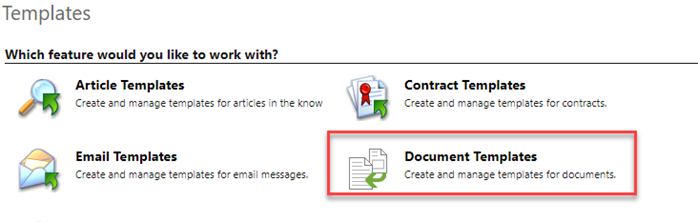
- Select ‘Document Templates’ from the options.
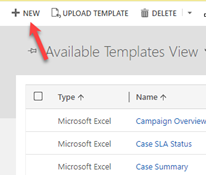
- From this window, you Will see a list of existing Document Templates. Click the ‘+New’ button to start creating a new Template.
- Select the ‘Word Template’ and filter by contact. Select the ‘Select Entity’ button to choose the Entities to draw field data from.
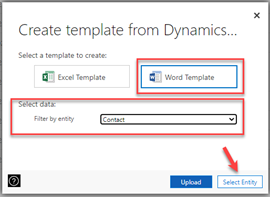
- Within the next window you can select the field types and their relations fields. EG. Account and Contact.
Select from the first column ‘Account_Primary_Contact’.
Select from the Second ‘Contact_Customer_Account’.
Click ‘Download Template’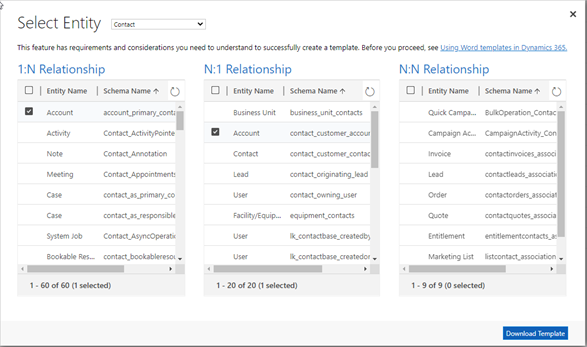
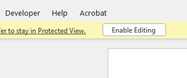
- Open the Template within Microsoft Word. Click the Enable Editing button.
Click the Developer tab and select the ‘XML Mapping Pane’ option
*If you don’t see the Developer Tab, then it will need to be enabled in the ‘Customise the Ribbon’ options.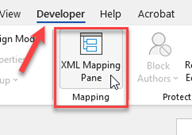
- Within the XML Mapping panel, select the link referring to the Microsoft CRM.
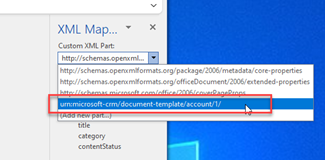
- Within the ‘Contact’ section. You can select the Contact's Name by either choosing ‘Full Name’ or ‘first name’ and ‘Last name’.
- For the Company Name, select the ‘Name’ option within the ‘account_primary_contact’ section.
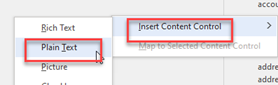
- To select the fields, right-click on the field and select ‘Insert Content Control’ then ‘Plain Text’ from the options. This will insert the Merge Fields for that field.
- Once complete, select to save the Template.
- To Upload the template, go back to the Dynamics 365 Template Admin Panel and select ‘Upload Template’
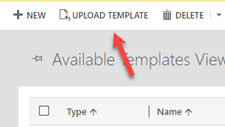
Select the Template to upload.
*NOTE - this process is still in development and could change.
Comments
0 comments
Please sign in to leave a comment.